Oh my mercy! If there is one thing that I can NOT SEEM TO CONQUER, it is meal planning. I don’t know why in the world this relatively simple task seems to elude me. I have tried over the years, really I have. There are notebooks scattered all over the house with menu plans scribbled in them. I have binders full of recipes. I have shelves of gorgeous cookbooks.
I have NO excuses. Oh, I have lots of reasons why I don’t like to meal plan, or why I can’t seem to “get it,” but none of them are very plausible.
“It’s too difficult?” Um, really? Picking 5 or more dishes is hard?
“It takes too much time?” Hmmm, isn’t it just a matter of deciding on a recipe and making it?
“It’s too confining! I prefer spontaneity.” Well, couldn’t you “spontaneously” pick out a few dishes to make?
“It’s too hard to have the right ingredients on hand.” LOL! Girl, you live 5 blocks from a major grocery store.
“It takes too much work.” Bwahaha, aren’t you making meals for your family anyway? This does not have to take any MORE time than what you’re already doing.
See! Even the voice in my own head is working against me, crushing my excuses.
Harrumph.

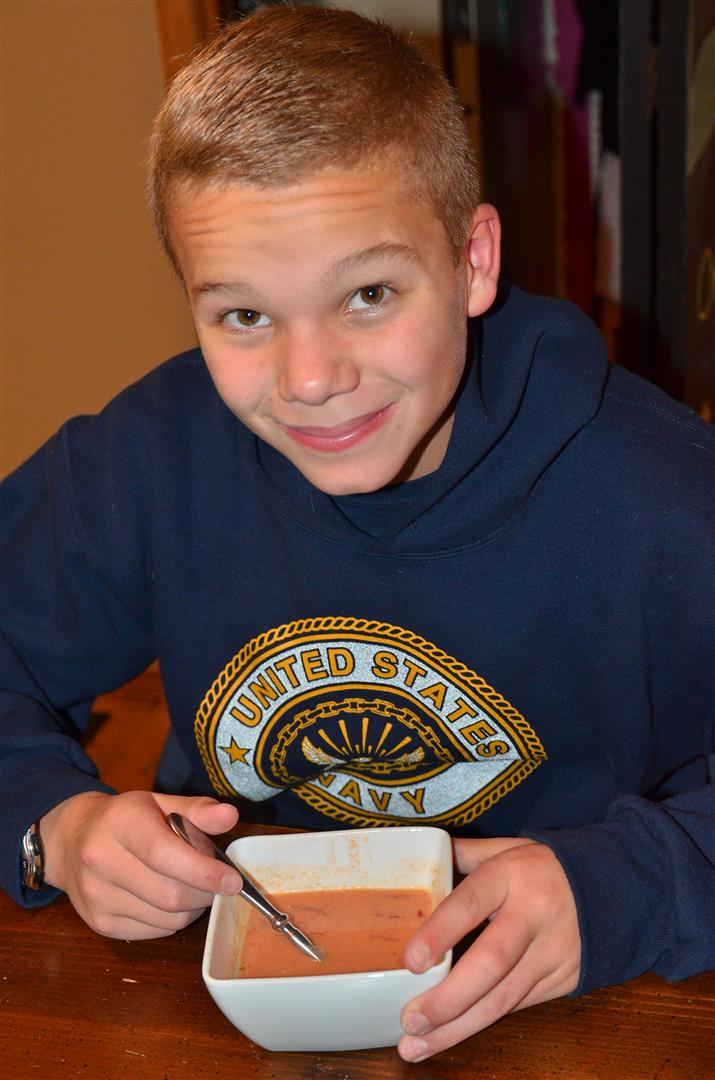
Our first attempt at a new (meal planning) recipe.
Since this week (and the last) were sort of limbo weeks for me, and I was a little gloomy anyway, it seemed like the perfect time to spend hours on Pinterest. Oh, and meal planning is just the kind of thing that is ALL OVER Pinterest. Goodness, there are meal plans for gluten-free diets, paleo diets, low carb, low fat, large families, busy families, and everything in between.
Finally, something struck my fancy.
And really, I think it’s all about what would make this fun for MOM here in this instance.
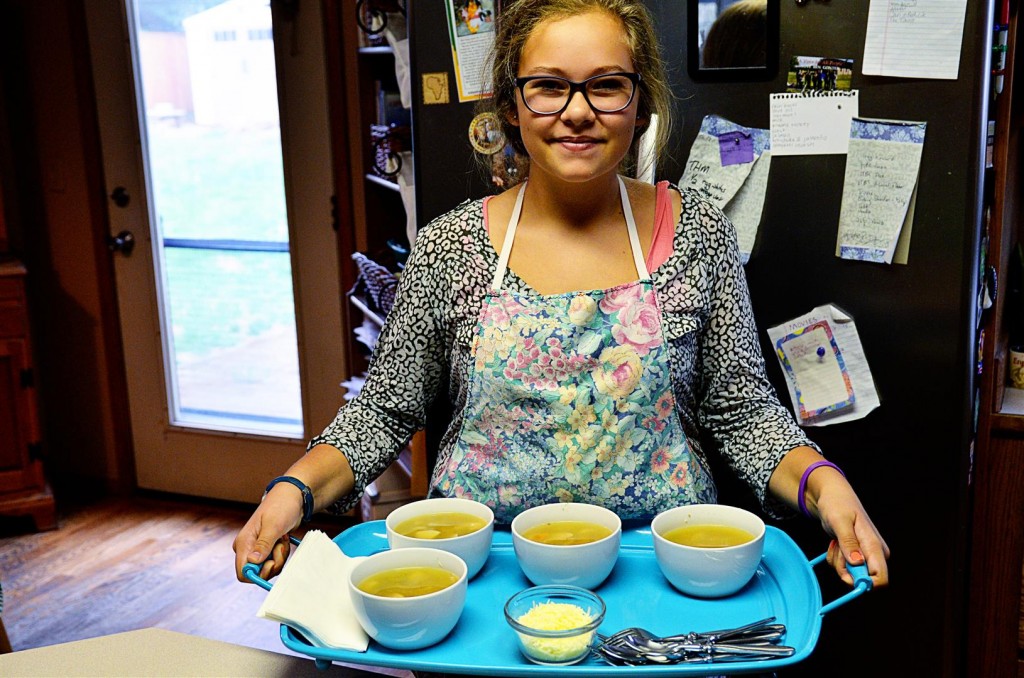
My beautiful assistant.
Theme Meal Planning
I read how one family enjoyed the simplicity, comfort and fun of having regular themes for their meal planning. I quickly pinned several great blog posts, but, after a little bit, realized I would actually have to get up and do some real planning if I wanted to make it happen. So much more fun to just lose track of time on Pinterest. Sigh.
I made Sarah come and sit at the table with me. I gave her the options of different themes and asked her to help me. We settled on:
Monday: Soup
Tuesday: Pasta
Wednesday: Crock-pot
Thursday: Casserole
Friday: Seafood
Saturday: International
Sunday: Roast and veggies
Next I handed her cookbooks and asked her to pick out recipes. She found a yummy looking chicken noodle soup (with homemade noodles) for Monday, a one-pot pasta recipe on Pinterest, and a delicious enchilada recipe from my Mexican cookbook for Saturday. We already have a crock-pot meal in the freezer. Things were rapidly coming together. We made a list of ingredients and went to the store. Again, fairly easy and painless.
Sarah wrote the meals down on a cute divided picture frame I bought and made sure to put it in plain sight.

Found this on the local FB sale page.
Who knows, maybe I can conquer the anti-meal-planning giant that always seems to beat me down. And teach Sarah and David to cook in the process. Win-win.
Project 365 – Day 243 (Aug 31)
Kathy
Related posts: